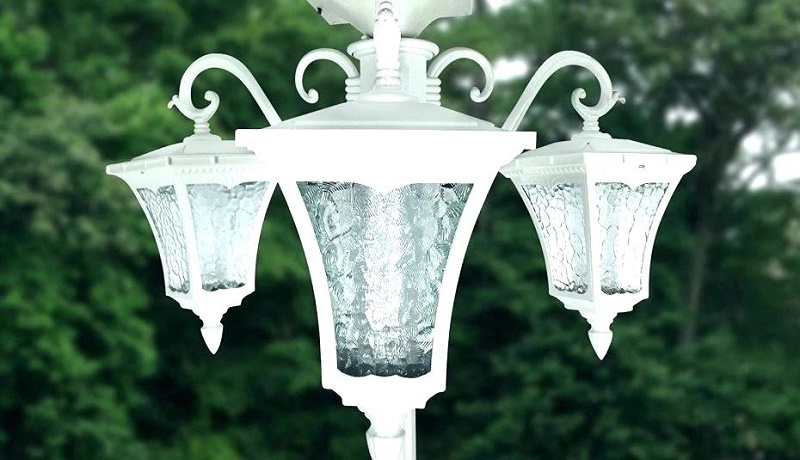
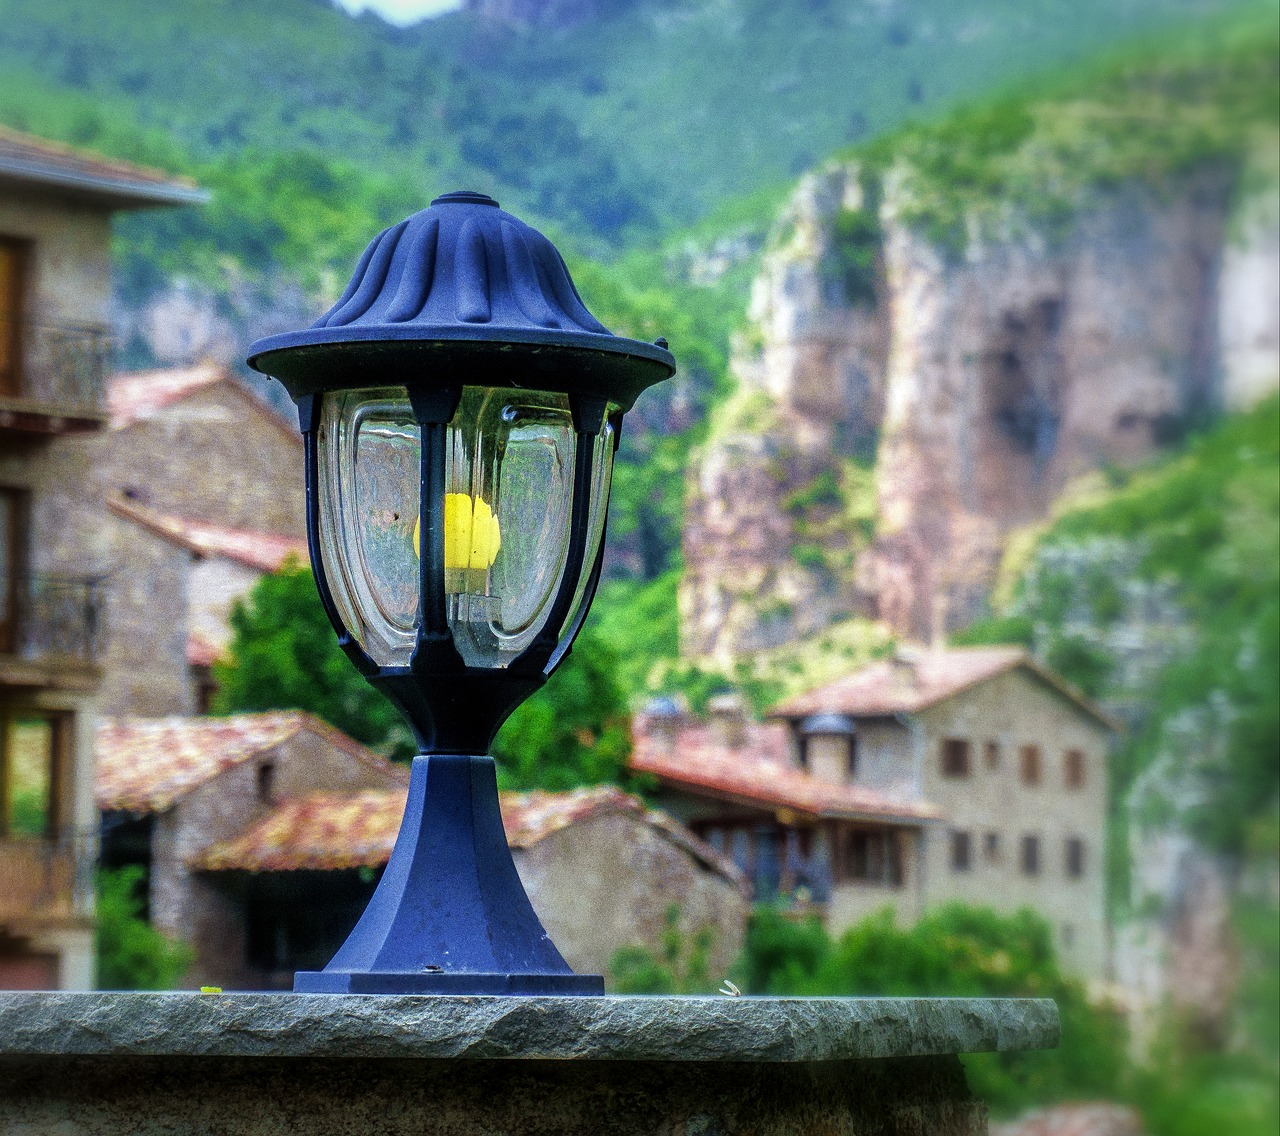
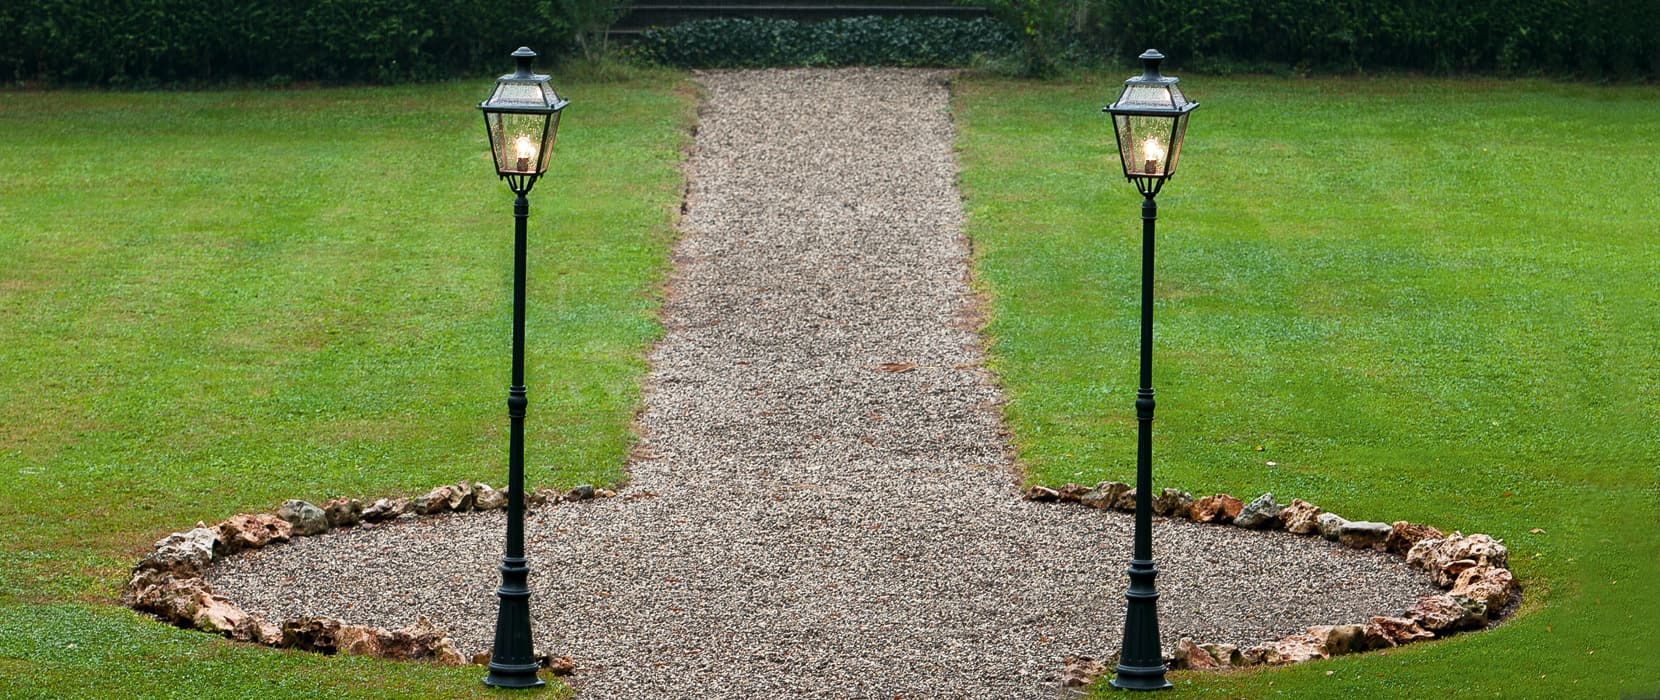
Good lighting is necessary for any room of our home, even where we have more access to natural lighting: the garden. But when it comes to the garden, the lighting that must be used must have its personality. It is better to use garden lanterns. However, there are three types of main garden lampposts and, despite this simple classification; many times doubts and insecurities appear. All this is mainly due to the electrical work that must be done when placing one or more of these lamps.
For that reason, and for the sake of helping you and all the people. Today we want to explain step by step the installation of these garden lamps. From the choice of place to place them, to the wiring procedure; we will break down each and every one of the points that you must keep in mind when lighting the outside of your home. It will not only be beautiful. It will be an efficient, durable and safe installation.
Why should you install Outdoor lamp posts for garden?
We talk about doubts and insecurities when installing this type of outdoor lighting, and like any construction or remodeling project. Would not it be easier to hire someone to do the job?
From a comfortable point of view, the truth is that yes. The best thing would be to hire a professional in electricity for this specific job. However, there are two reasons why you should do it yourself. The first (obviously) is in order to save some money, however, the second is the most important.
In the long term, you will surely want to plant climbing plants, add a source, expand part of the house floor or; expand the garden. The point here is that only you know exactly what you would like to do in the long term and, in the face of that scenario; Do not you think it’s best for you to do the electrical installation?
A professional will do an efficient job, but will not take into consideration those details that only you can know and that comes to mind when analyzing the available space. All work that involves electricity is important and delicate, so it is good to hire someone expert in the field. But when it comes to your garden and your home. Maybe it’s a good idea to lose your fear and get used to doing the remodeling on your own. After all, the garden is a space that lends itself to trial and error; so lose your fear and get ready to work.
Tools and materials you will need for outdoor lamp posts
According to the surface on which you are going to install the garden lanterns, you may need all or some of these materials; so do not let yourself be overwhelmed by the amount listed here.
- Hoe
- Shovel
- Strip cables
- Screwdriver
- Guide wires
- Wire stripper
- Waterproof case
- Surface switch
- Insulating gel
- Connection strips
- Corrugated pipe
- Three-wire rubber hose
As you can see, the list is long and, you may need to expand it a bit in case you are going to do the work on a concrete or cement surface that you have in your garden. That is because you will need the materials to break the floor and then cover the hole and the trench.
Remember that there are also spotlights for grass, deck, and concrete; As well as the LED light minis, we will be talking about this type of lighting for your garden.
Where should you place your lamppost?
The first thing you should know is that the streetlights require an independent installation to the rest of the house, with a general limit switch of amperage lower than what we usually have in the rest of the residence. You must use it to avoid accidents. Also, the cables that come from the current must be in a watertight box. Being an outdoor installation, it is most likely subject to rain and snow. You must prevent moisture from penetrating the cable joints.
Now, when placing the lamppost; you should consider the position of your current and future plants. The laying of the corrugated tube can disturb drastically (and for bad); the roots of your plants. In addition, it takes into consideration the possible light pollution, that is to say; that the lights of your streetlight do not disturb your neighbor. So, the crown of the lamp should contain the light downwards and towards your garden.
According to the configuration of your garden, a streetlamp should be located at the center; several of them in symmetrical positions and sufficiently distant from each other so that the mantle of light covers the area perfectly.
The higher up they have chelators, the farther they could be from each other, yes; Remember that the electrical connection through the corrugated tube will travel all that distance, so it may not be the best alternative if you have plants in between.
Installation procedure
Determine the position of the street lamp and, if it is not on the concrete floor but grass; then you must open a hole at least 40cmx40cm to bury the base of the lamp, remember to open the trench too. If the floor is white, you must dig a hole of greater depth than indicated in the instructions of the lamp.
Once you have the hole, pour the concrete mixture and lay it with the spatula; Now you can place the base of the lamppost. Make sure it is level so that when the concrete is closed (approximately 24 hours). You can install the lamp without balance problems.
With the corrugated pipe lying in the trench, apply the concrete until you reach the stagnant box from which the cables that provide the current come. Now, with the help of the guide and attaching the three-wire rubber hose to one end; It passes the cables from the end of the corrugated tube lamppost to the stalled box.
Remember to leave at least ten centimeters of cables to comfortably perform the respective splices; both to the lamp and to the power supply. After the necessary time, you can connect the streetlight cables and install
The connections are simple
The street lamp has three wires of three different colors that will match those of the three-wire hose. In any case, if they do not coincide; You can check at the hardware store which one is which. Do not forget that the yellow/green is the earth always.
In the box where you will draw the current, you will also come with the three cables. Use the connection strip to connect.
One of the wires from the surface switch to the street lamp and the other to the power cord of the power supply. Once you have connected all the cables, proceed to close the stagnant box and pour the insulating gel. Once the gel dries, the connections will be protected and practically sealed hermetically. So, you will not have to worry about rain or other inclement weather. However, remember that if you continue with questions about the installation and work; You can hire an expert. Although we recommend that you first make an outline of how you want the installation, always thinking in the future to expand the projects of your garden.
Other alternatives
If there is something really negative about the classic lampposts with halogen lights, it is their electrical consumption. No matter the work was done previously for its installation or portability. If these lights will be on all night, you will notice a considerable increase in the electric bill.
For that reason, maybe you should consider using a portable LED streetlights. These small streetlights that can dig into the lawn, get their energy through a photocell. During the day they are recharging and, at nightfall; they turn on automatically without the need for a switch, staying up to eight full hours before needing a recharge.
They can also be controlled by remote control, so you could easily turn them off at night without the need to go out into the garden. It is an alternative to consider. You would be sacrificing some height in your lamps.
Do not forget that you can also place outdoor lamp posts for garden on the walls or even use natural light, incorporating torches that are nailed to the lawn. That is, when it comes to lighting your piece o Eden; not only you have to break your head thinking where it is convenient to place the garden lanterns. Explore the other alternatives in the market, you could take a pleasant surprise.


Average Rating