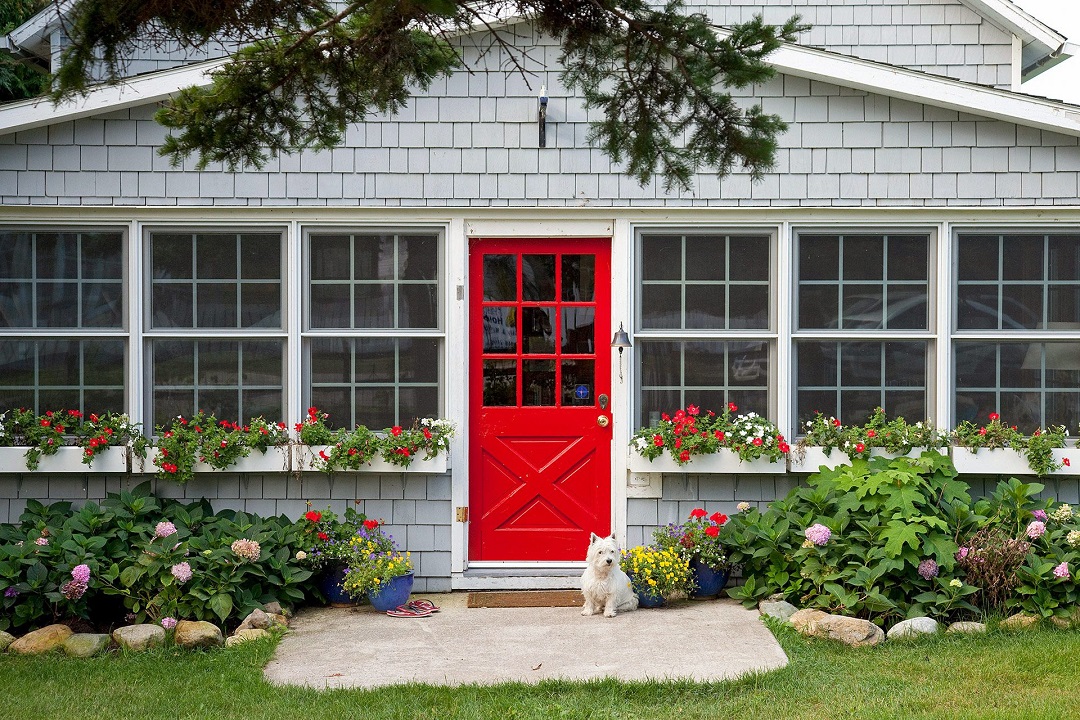
Painting the exterior door of your home is a great way to enhance its curb appeal and give it a fresh, updated look. Whether you’re sprucing up an old door or adding a pop of color to your entryway, painting an exterior door is a straightforward DIY project that can yield impressive results. Here’s a step-by-step guide to help you achieve a professional-looking finish:
Step 1: Choose the Right Paint and Color
Selecting the right paint and color is crucial for achieving the desired look and durability. Choose a high-quality exterior paint that is specifically formulated for doors and trim. Consider factors such as the material of your door (wood, metal, fiberglass), exposure to sunlight, and the overall aesthetic of your home.
Step 2: Prepare the Surface
Proper preparation is key to a successful paint job. Start by cleaning the door thoroughly to remove any dirt, dust, or debris. Use a mild detergent and water solution, and scrub the surface with a sponge or brush. Rinse the door with clean water and allow it to dry completely before proceeding.
Step 3: Remove Hardware and Protect Surrounding Areas
If possible, remove any hardware such as handles, locks, and hinges from the door. This will allow you to paint the door more easily and achieve a clean, professional finish. Use painter’s tape and plastic sheeting to protect surrounding areas such as windows, trim, and siding from accidental paint splatters or drips.
Step 4: Sand and Prime the Surface
Sand the surface of the door lightly with fine-grit sandpaper to create a smooth, even surface for painting. This will also help the paint adhere better to the door. After sanding, apply a coat of high-quality primer to the door using a brush or roller. Primer helps seal the surface and provides a good base for the paint to adhere to.
Step 5: Apply the Paint
Once the primer is dry, it’s time to apply the paint. Stir the paint thoroughly before use, and apply it evenly to the door using a brush or roller. Work in long, smooth strokes, following the direction of the wood grain if applicable. Be sure to apply the paint evenly and avoid drips or streaks.
Step 6: Allow to Dry and Reapply (if necessary)
Allow the first coat of paint to dry completely according to the manufacturer’s instructions. Depending on the color and condition of the door, you may need to apply additional coats for full coverage and durability. Be sure to allow each coat to dry fully before applying the next.
FAQs (Frequently Asked Questions)
1. How long does it take to paint an exterior door?
The time it takes to paint an exterior door depends on factors such as the size of the door, the condition of the surface, and the number of coats needed. In general, you can expect to spend a few hours to a full day on the project, including drying time between coats.
2. Do I need to sand the door before painting?
Sanding the door before painting is recommended, as it helps create a smooth, even surface for the paint to adhere to. Sanding also helps remove any existing finish or rough spots on the door.
3. Can I paint a metal or fiberglass door?
Yes, you can paint metal or fiberglass doors using the same process outlined above. Be sure to use a paint that is suitable for metal or fiberglass surfaces, and follow the manufacturer’s instructions for preparation and application.
4. How can I prevent brush marks or streaks when painting?
To prevent brush marks or streaks, use a high-quality brush or roller and apply the paint evenly in long, smooth strokes. Work quickly and avoid overworking the paint, as this can lead to streaks or brush marks.
5. How long should I wait before reattaching hardware to the door?
Wait until the paint is completely dry to the touch before reattaching hardware to the door. This usually takes several hours to overnight, depending on the type of paint and environmental conditions.


Average Rating