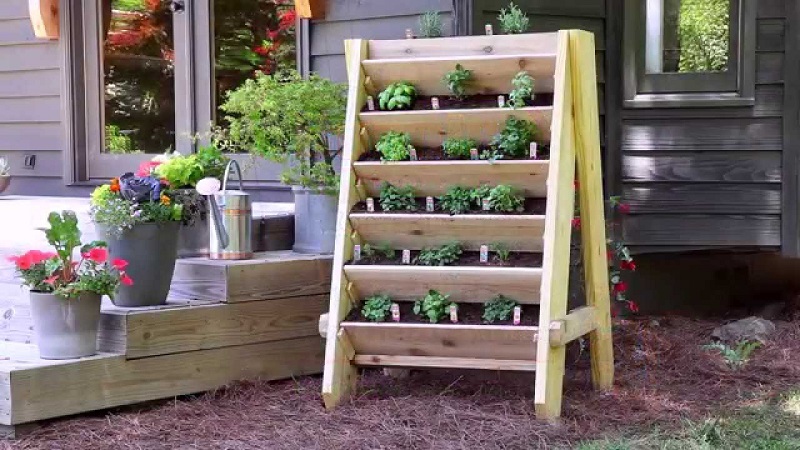
It’s spring! Nature lazily awakens and we with her. And here is renewed (never dormant) the desire to surround ourselves with flowers and plants of all kinds. The lucky ones, owners of large green spaces, will certainly unleash themselves, but even those who do not own a garden can make their own green corner, even if only one wall of the balcony, with vertical DIY planters, made with pallets.
What follows is a project that is simple to create, but alternative and very aesthetically pleasing, to decorate a wall in the living room, an external wall, a balcony. Continue reading: The Evolution of Glass-Making
Vertical DIY planters: a picture with succulents
That is a painting with “living nature”, to hang individually or in composition with others. Small, for a single seedling, or larger, to host many. Ideal for small spaces. The procedure is rather simple and is the same for any chosen size.
Required materials:
- Recovery wooden boards (perfect pallets)
- Wood screws
- Screwdriver or screwdriver
Fine abrasive paper - Vinyl glue
- Light metal mesh (hexagonal type)
- Cloth fabric for gardening, black or green
- Scissors
- Pinza
- Soil for succulents
- Fat seedlings
- Wood paint or impregnating agent
Build the wall planter with pallets
Let’s start with the frame/container. The structure is similar to a box, formed by a base and “walls” not too high, about 6 cm. The depth depends on the size of the plants, which must not lack the space needed for the roots. The tables of pallets, or pallets, can have varying heights, between 6 and 9 cm approximately and the thickness between 1.5 and 2 cm. They are comfortable because they do not require further cuts, apart from the length.
First cut the base to size, square or rectangular, according to your preferences. The pictures in the picture have a base of 8 cm, which remains inside, then when the frame is finished the picture is about 11/12 cm, according to the thickness of the table. For cutting, we use a simple jigsaw for do-it-yourself.
Then cut the sides taking the measurement directly from the base: two sides shorter and two longer, or alternating. The important thing is that they are perfectly adherent to the base, to which they will subsequently be fixed.
Carnegie all to remove smudges and small splinters, slightly beveling the edges of the walls, then paint the color you prefer, or pass a coat of water, protective for wood.
Once dry, fix the pieces of the frame between them, using the bottom as a guide, but do not fix them to the base, which for the moment must be removable. First glue with vinyl glue to seal, then the screws. For this operation, we use self-tapping screws for wood, two on each side, on the lower and upper part. Better not to use nails that, in the long run, can loosen. Apply a square hook on the back of one of the sides.
Vertical DIY planters: fill the picture
It’s a vertical DIY planter, how to do it because the soil does not slip and fall out? With a make-up: a wire mesh and a fabric in transpiring fabric, used in agriculture and gardening.
Cut a square (or rectangle) of the mesh of the same size as the base of the planter, plus an inch for each side. The excess part must be folded inwards, forming a 90 ° angle, like a lid. In the middle, it cuts in such a way as to create a hole that is large enough to hold the seedling.
Place on top of a piece of non-woven fabric, of the same dimensions. Keeping them together, slide them from underneath into the structure you previously made and push them until you reach the upper edges. They must climb with difficulty, if they slide easily they will not adhere perfectly and will tend to lower.
Turn over and fill with soil, compacting it slightly. Now you can apply the base, inserting it into the box like a “cap”. Secure the base with the screws. In this case, I prefer not to use the glue because the bottom can be removed simply by removing the screws.
Insert the seedlings in the vertical planter
To arrange the plan (or the seedlings), practice a small cross-shaped incision in the cloth, at the hole in the net. Raise the flaps to the outside and move the soil to make room for the roots. If the seedling is thorny, take it with gloves and carefully insert it into the hole. Add a little bit of land if necessary.
Close the edges of the cloth at the base of the plant and water with a spray, to help to settle. Wait a few hours before hanging your scenic vertical DIY planters. Check also: http://line-art.org/5-golden-rules-sort-wardrobe/


Average Rating