Few things are more frustrating in the morning than a toaster that won’t heat. It’s such a simple appliance, and yet, when it stops working, it can disrupt your daily routine. If you’ve ever found yourself in this predicament, you’re not alone. Before rushing to the store to buy a new toaster, there are several things you can check and potentially fix on your own. In this guide, we will walk you through common issues and solutions, giving you the knowledge to troubleshoot and possibly repair your toaster without needing professional help.
Why Won’t My Toaster Heat?
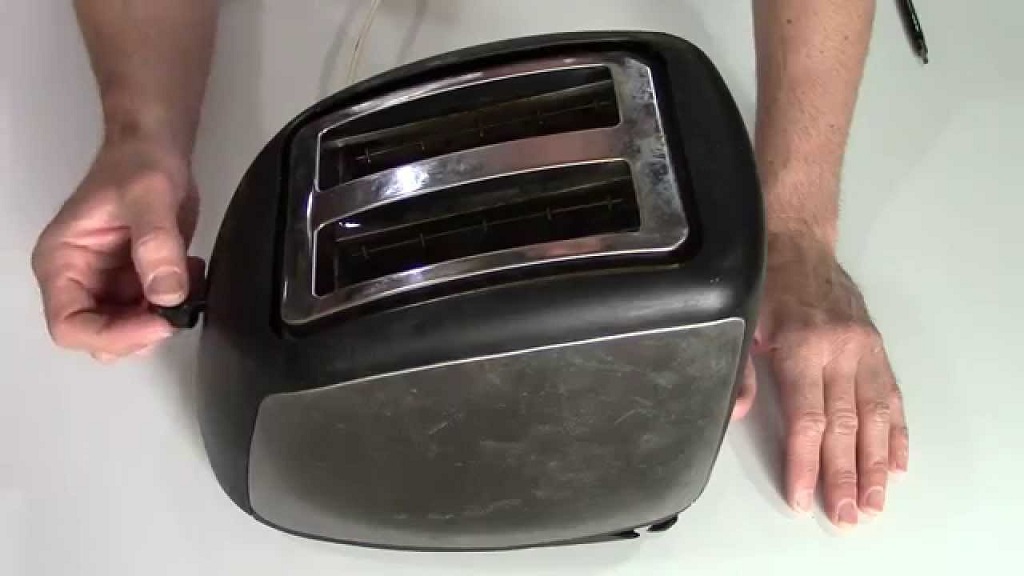
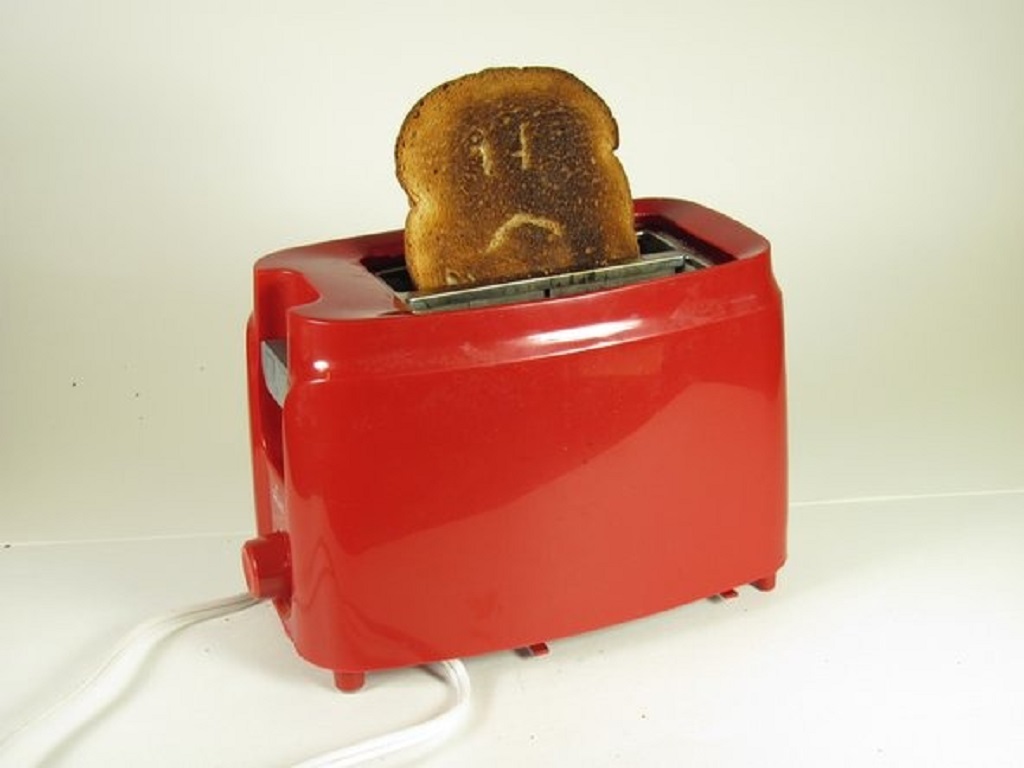
Image Source
The toaster’s basic function is simple: convert electricity into heat to brown your bread. When your toaster doesn’t heat, it’s usually because there’s something interrupting this process. It could be an electrical issue, a mechanical failure, or even a cleanliness problem. Let’s go over the most common causes in detail and how to address each one.
Step 1: Ensure the Toaster is Plugged In
This might sound too obvious, but sometimes the most basic issues are easy to overlook. If your toaster is not heating at all, the first thing to check is whether it’s plugged into a functioning outlet. Here’s what to do:
- Check the Power Cord: Inspect the cord for any signs of damage. If the cord is frayed, cut, or otherwise damaged, it can prevent your toaster from working and is also a fire hazard. If you notice any damage, do not use the toaster until you’ve replaced the cord or have it repaired by a professional.
- Test the Outlet: Plug another appliance (such as a lamp or phone charger) into the same outlet to confirm it’s supplying power. If that device works fine, then the outlet is not the issue. If not, you may have a faulty outlet or a blown fuse. In that case, try plugging the toaster into another outlet that you know works.
Step 2: Clean the Toaster
Toasters are magnets for crumbs, and over time, these crumbs can accumulate and block the internal components. If your toaster is clogged with crumbs, it might not heat properly. Here’s how to clean your toaster:
- Unplug the Toaster First: Before doing any cleaning, always unplug the toaster to prevent electrical shocks.
- Remove the Crumb Tray: Most modern toasters have a removable crumb tray at the bottom. Slide it out and dispose of any accumulated crumbs. Wash the tray with warm, soapy water, and dry it completely before reinserting it into the toaster.
- Shake Out Loose Crumbs: Turn the toaster upside down and gently shake it over a trash can or sink to dislodge any crumbs that are stuck inside. Be gentle to avoid damaging internal parts.
- Use a Brush for Stubborn Crumbs: If some crumbs are stuck in hard-to-reach places, use a small brush, such as a pastry brush or a toothbrush, to clean them out. Avoid using anything metallic that could damage the heating elements.
Cleaning your toaster regularly can not only solve heating issues but also prevent future problems. Once your toaster is clean, plug it back in and test it again to see if it heats up properly.
Step 3: Check the Heating Elements
If your toaster still isn’t heating after you’ve cleaned it, the next thing to examine is the heating elements. These are the wires inside the toaster that glow red when the toaster is working properly. If they don’t heat up, it could be due to a break in the circuit.
- Visual Inspection: Look inside the toaster while it’s turned off and unplugged. Check for any visible breaks in the heating wires. If a wire is broken or appears damaged, this is likely the reason your toaster isn’t heating.
- Test the Toaster: Plug in the toaster and turn it on. Watch closely to see if the heating elements glow evenly. If only part of the wire glows or if the toaster heats unevenly, there may be an issue with one or more of the elements.
Unfortunately, replacing heating elements is not an easy fix for the average user. If your toaster’s heating elements are damaged, you’ll need to contact the manufacturer for repair options or consider purchasing a new toaster.
Step 4: Inspect the Internal Components
Toasters have a few internal components that could malfunction over time, including the thermostat, thermal fuse, and timer. While these issues are more complex, they can be fixed with the right tools and some basic knowledge of appliance repair.
- Thermostat Problems: The thermostat regulates the toaster’s temperature. If it malfunctions, the toaster might not heat correctly. You can test the thermostat with a multimeter (a tool that measures electrical current). If the thermostat is faulty, it will need to be replaced.
- Thermal Fuse: Some toasters have a thermal fuse that cuts off power if the toaster overheats. If the fuse blows, the toaster won’t heat at all. Replacing a thermal fuse involves opening up the toaster and soldering in a new fuse. This is a more advanced repair and might require professional help, especially if you’re unfamiliar with electrical repairs.
- Timer Mechanism: The timer controls how long the toaster heats before popping up the bread. A faulty timer might cause the toaster to stop heating prematurely. Replacing the timer can be tricky, as it usually involves disassembling the toaster’s casing and replacing the circuit board. Again, if you’re not comfortable with this, it’s best to leave it to a professional.
Read More Also: How to make mugs a meaningful gift
Step 5: Consider the Toaster’s Age and Warranty
Sometimes, toasters stop working simply because they’re old. If your toaster has been in use for several years, it might be nearing the end of its life span. Electrical components wear out over time, and there’s only so much you can do to repair an aging appliance.
- Check the Warranty: If your toaster is relatively new, check to see if it’s still under warranty. Many manufacturers offer warranties that cover repairs or replacements for a certain period. If your toaster is still under warranty, contact the manufacturer to arrange for a replacement or repair.
- Weigh the Cost of Repair vs. Replacement: If your toaster is out of warranty and requires significant repairs (like replacing the heating elements or internal components), it might be more cost-effective to buy a new toaster. A basic toaster isn’t very expensive, and replacing one might save you time and effort compared to trying to repair it.
Final Thoughts: Prevention is Key
While fixing a broken toaster is possible in many cases, it’s always better to prevent issues in the first place. Here are a few tips to keep your toaster in good working order:
- Regular Cleaning: Clean your toaster regularly to prevent crumbs from building up and interfering with the heating elements.
- Avoid Overloading: Don’t force thick slices of bread or oversized items into your toaster. This can damage the internal components and cause malfunctions.
- Monitor Usage: Pay attention to how long your toaster has been in use. If it starts showing signs of wear, like uneven heating or slower performance, it may be time for a replacement.
In conclusion,
a toaster that won’t heat can often be fixed with some basic troubleshooting and maintenance. By following the steps outlined above, you may be able to get your toaster back in working order without needing to replace it. However, if the problem persists, don’t hesitate to consult a professional or consider getting a new toaster.