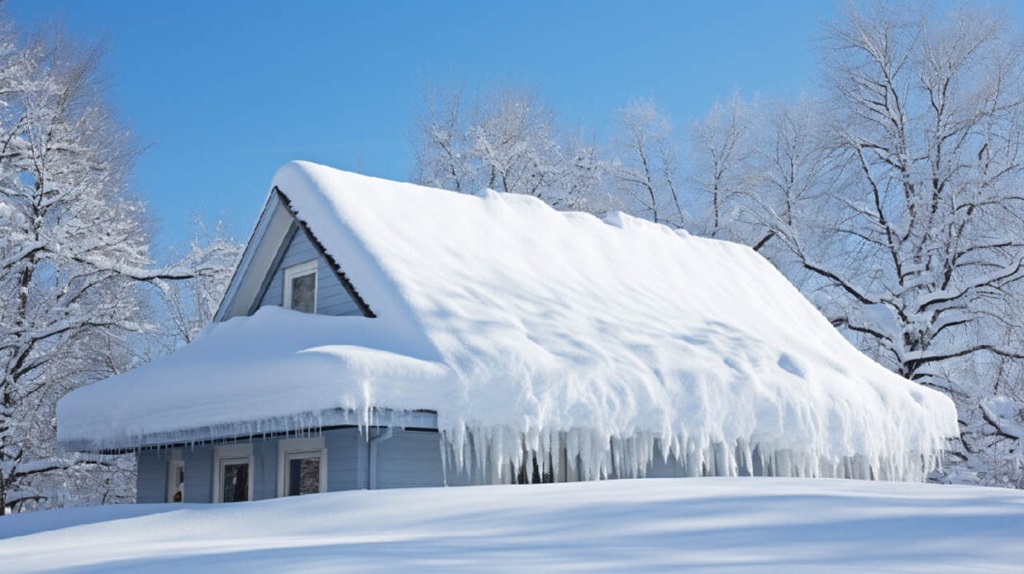
Winter’s beauty often comes with a burden – snow and ice accumulation on our roofs. While a picturesque sight, this buildup can pose significant risks to your home’s structural integrity and safety. Addressing this issue promptly and correctly is crucial to prevent costly damages and ensure the well-being of your family.
Understanding the Risks
The weight of accumulated snow and ice can strain your roof’s structure, leading to leaks, sagging, or even collapse in extreme cases. Additionally, on a pitched roof, ice dams can form, causing water to back up under shingles and seep into your home, leading to water damage and mold growth.
Safety First: Precautions and Planning
Before embarking on any snow or ice removal endeavor, prioritize safety. Ensure you have the right tools, attire, and a clear plan of action. Always work with a partner who can assist and monitor your safety from the ground.
Tools and Attire for Safe Removal
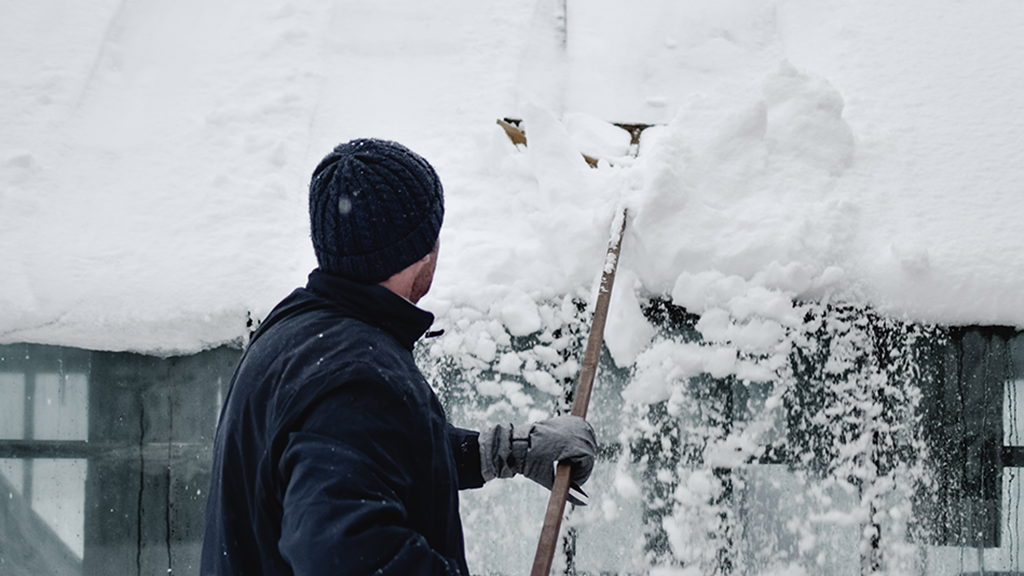
- Roof rake: This long-handled tool allows you to remove snow from the ground, minimizing the need to climb onto your roof.
- Snow shovel: If climbing onto your roof is unavoidable, use a plastic shovel to avoid damaging shingles.
- Safety harness: If you must work on a ladder or roof, a safety harness with a rope attached to a secure anchor point is essential.
- Proper attire: Wear warm, waterproof clothing, gloves, and non-slip boots with good traction.
Related: The Ultimate Guide to Roof Cleaning
Effective Removal Techniques
- Roof rake: Start by removing snow from the eaves using a roof rake. Work your way up the roof, clearing snow in sections.
- Plastic shovel: If a roof rake cannot reach certain areas, carefully climb onto the roof and use a plastic shovel to remove the remaining snow. Clear a path to the edge of the roof to allow for proper drainage.
- Ice dam prevention: Prevent ice dams by improving attic insulation and ventilation. Consider installing heat cables along the eaves to melt ice buildup.
- Ice dam removal: If ice dams form, use calcium chloride ice melt products to create channels for water to flow off the roof. Apply the product in a zigzag pattern along the dam, avoiding direct contact with shingles.
When to Seek Professional Help
If you are uncomfortable working on your roof, have a steep or complex roof design, or face a significant amount of snow and ice, hiring a professional snow removal service is the safest option. Professionals have the experience, equipment, and insurance to tackle these tasks safely and efficiently.
Beyond Removal: Preventative Measures
Regular roof maintenance is key to minimizing snow and ice-related risks. Inspect your roof for damage, ensure proper insulation and ventilation, and consider installing heat cables or snow guards in areas prone to accumulation.
Additional Tips for Safe Removal
- Work during daylight: Avoid working on your roof in the dark or during inclement weather.
- Take breaks: Removing snow and ice is physically demanding. Take frequent breaks to avoid exhaustion.
- Stay hydrated: Drink plenty of water to stay hydrated and maintain energy levels.
- Watch for falling snow and ice: Be aware of your surroundings and keep an eye out for falling debris.
Conclusion
Safe removal of snow and ice from your roof is a critical aspect of home maintenance during winter. By understanding the risks, taking necessary precautions, and following proper removal techniques, you can protect your home from damage and ensure the safety of your family. Remember, to prioritize safety above all else, and seek professional assistance if needed. With proper care and attention, your roof will remain strong and resilient throughout the winter months.


Average Rating