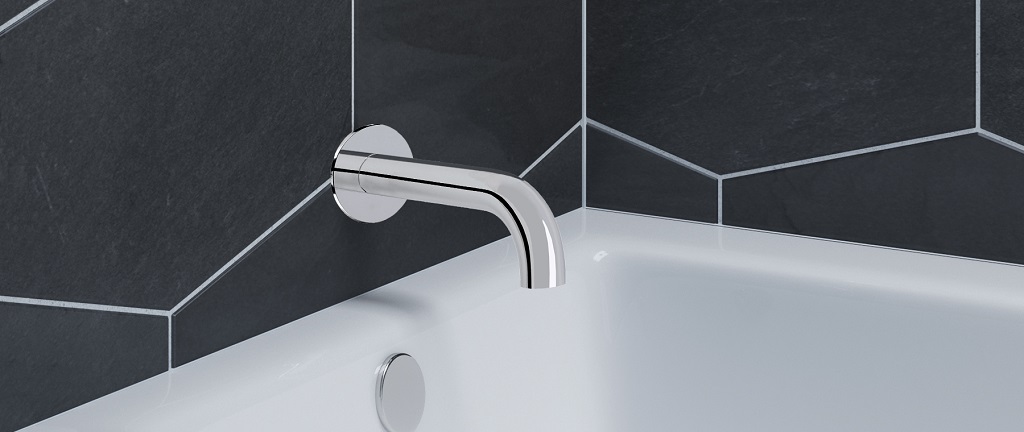
Tub spout diverter replacement can seem like an overwhelming task, but with the right guidance and tools, it can actually be a breeze. In this article, we’ll walk you through the entire process, from identifying the problem to performing effective troubleshooting steps and finally, the actual replacement process.
So let’s dive right in and unravel the mystery of tub spout diverter replacement!
What is a Tub Spout Diverter?
Before we go further, it’s crucial to understand the subject of our discussion: the tub spout diverter. In simple terms, a diverter is a mechanism that directs water either to the showerhead or the tub spout, depending on your preference. It’s an essential component in your bathroom that allows you to enjoy both a bath and a shower without installing separate fixtures. However, if you notice a yellow water bathtub, it might be a sign of a bigger problem that needs to be addressed.
Signs That Your Diverter Needs Replacement
Let’s face it, nothing lasts forever, and the same goes for your tub spout diverter. But how can you tell when it’s time for a replacement? Here are some tell-tale signs that your diverter is on its last leg:
- Water leakages from the spout or showerhead
- Difficulty in diverting water between the showerhead and tub spout
- Excessively worn or corroded diverter components
Assessing the Severity of the Problem
The first step in resolving your diverter issue is to assess the severity of the problem. Follow these simple steps to diagnose your diverter problem:
- Run water through the showerhead and tub spout
- Observe the water flow and any noticeable leakages
- Check the diverter for any visible wear or corrosion
If after these steps, you’re still unable to identify the problem, it may be a good idea to consult with a professional plumber for expert advice.
How to Deal with Minor Issues
Did you know that not all diverter issues require a replacement? Here are some quick fixes for minor problems:
- Clean the diverter mechanism to remove build-up and debris
- Replace old, worn-out washers
- Tighten any loose connections
However, if the problem persists, then it’s time to consider a full diverter replacement.
Preparing for the Replacement
Now that you’ve determined it’s time for a tub spout diverter replacement, gather the following tools and materials to make the process seamless:
- Adjustable wrench
- Pipe wrench
- Plumber’s tape
- Replacement diverter
Choosing the Right Replacement Diverter
Finding the perfect match for your tub spout diverter can be tricky. Consider these tips when choosing a new diverter:
- Opt for a model compatible with your existing plumbing system
- Look for a durable and high-quality diverter, preferably with good customer reviews
- Pay attention to the finish to ensure it matches your bathroom fixtures
With these factors in mind, you’ll be able to find the best replacement for your needs.
Step-By-Step Tub Spout Diverter Replacement
Step 1: Turn Off the Water Supply
Before any plumbing task, always ensure the water supply is turned off to avoid unwanted surprises and water damage. Discover How to change the shower faucet and handle?
Step 2: Remove the Old Spout
Use the adjustable wrench to loosen and remove the old spout. If it’s difficult to remove, employ the pipe wrench for additional leverage.
Step 3: Clean the Exposed Pipe
Thoroughly clean the exposed pipe to remove any residual thread sealant or debris.
Step 4: Apply Plumber’s Tape
Wrap plumber’s tape around the threads of the exposed pipe in a clockwise direction. This helps to create a watertight seal.
Step 5: Install the New Diverter
Position the new diverter onto the pipe and hand-tighten it. Once it’s secure, use your adjustable wrench to further tighten it, keeping in mind not to overtighten it.
Step 6: Test Your Handiwork
Turn the water supply back on and run water through both the showerhead and tub spout to confirm proper functionality.
Conclusion
And there you have it, a detailed and informative guide on tub spout diverter replacement. Remember, keeping an eye out for signs of wear or damage can help prolong the life of your diverter and prevent major issues in the long run. Performing regular maintenance checks and addressing minor issues before they escalate can save you both time and money.
Frequently Asked Questions
- How long does a tub spout diverter typically last?
A well-maintained tub spout diverter can last up to 10 to 15 years. However, this lifespan can vary depending on the quality of materials, water quality, and regular maintenance. - Can I replace the diverter without replacing the entire spout?
Yes, in some cases, you can replace only the diverter mechanism without replacing the entire spout. This depends on the design and compatibility of your existing spout. - Is it difficult to replace a tub spout diverter by myself?
Although it may seem challenging at first, with the right guidance and tools, tub spout diverter replacement can be a manageable DIY task. - Can the tub spout diverter affect water pressure?
Yes, a faulty or clogged tub spout diverter can result in reduced water pressure in both the showerhead and tub spout. - Should I call a plumber to replace my tub spout diverter?
If you’re unsure about your skill level or have encountered unexpected issues, it’s recommended to consult with a professional plumber for expert advice and assistance.


Average Rating