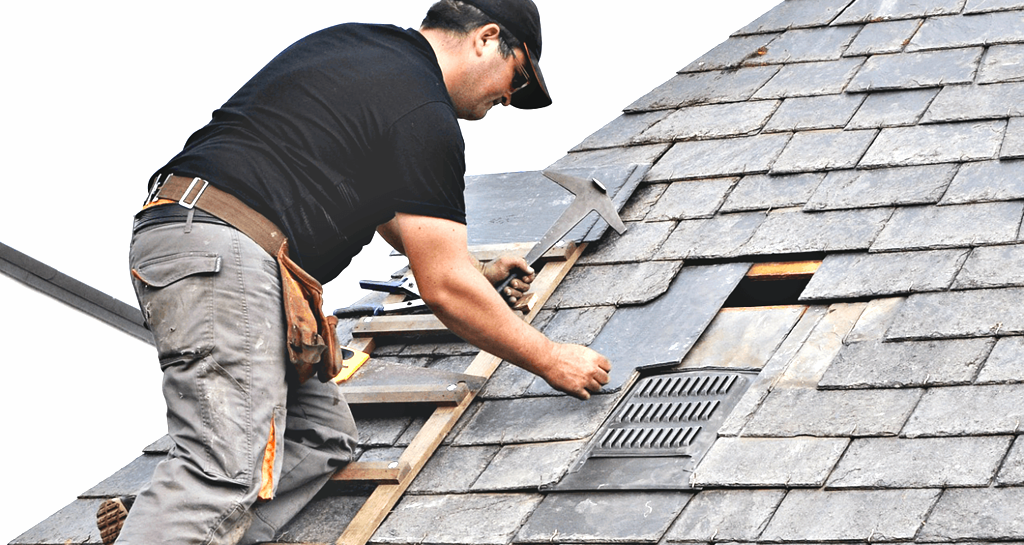
A roof is more than just an aesthetic feature; it’s your home’s first line of defense against the elements. Worn or damaged roof shingles put your home at risk. While replacing your entire roof is best left to professionals, with some care and know-how, many homeowners can handle replacing individual shingles themselves.
Is It Time to Replace the Shingles?
Before embarking on this project, be certain it’s necessary.
Here’s how to tell if your shingles need replacement:
- Age: Asphalt shingles usually last 20-25 years. If yours are nearing that age, be proactive.
- Curling or buckling: These are obvious signs of shingle deterioration.
- Cracked or missing shingles: These leave your roof structure vulnerable.
- Granule loss: See excessive asphalt granules in your gutters? Your shingles are wearing thin.
- Sunlight in your attic: This means serious gaps in your roof’s underlayment.
Safety First
Working on a roof is dangerous. Here’s how to minimize risks:
- Don’t do it alone: Have a helper on hand for support and to pass supplies.
- Harness and anchors: If your roof is steep, invest in fall protection equipment.
- Appropriate footwear: Wear shoes with good grip to avoid slips.
- Weather check: Never attempt roof repairs in rainy, icy, or windy conditions.
Tools and Supplies
Gather these before you begin:
- Replacement shingles: Match your existing shingles in color and style. Buy a few more than you think you’ll need.
- Utility knife: For cutting shingles to fit and for scoring old shingles.
- Pry bar: To loosen shingles and remove nails.
- Hammer: For securing new shingles.
- Roofing nails: Galvanized is best for resisting rust.
- Roofing cement: To reseal shingles as needed.
- Ladder: Tall enough to safely reach your roof.
- Gloves: To protect hands from sharp shingle edges.
- Safety glasses: Shield yourself from debris.
Step-by-Step Replacement Guide
- Locate damaged shingles: Closely inspect your roof to identify problem areas.
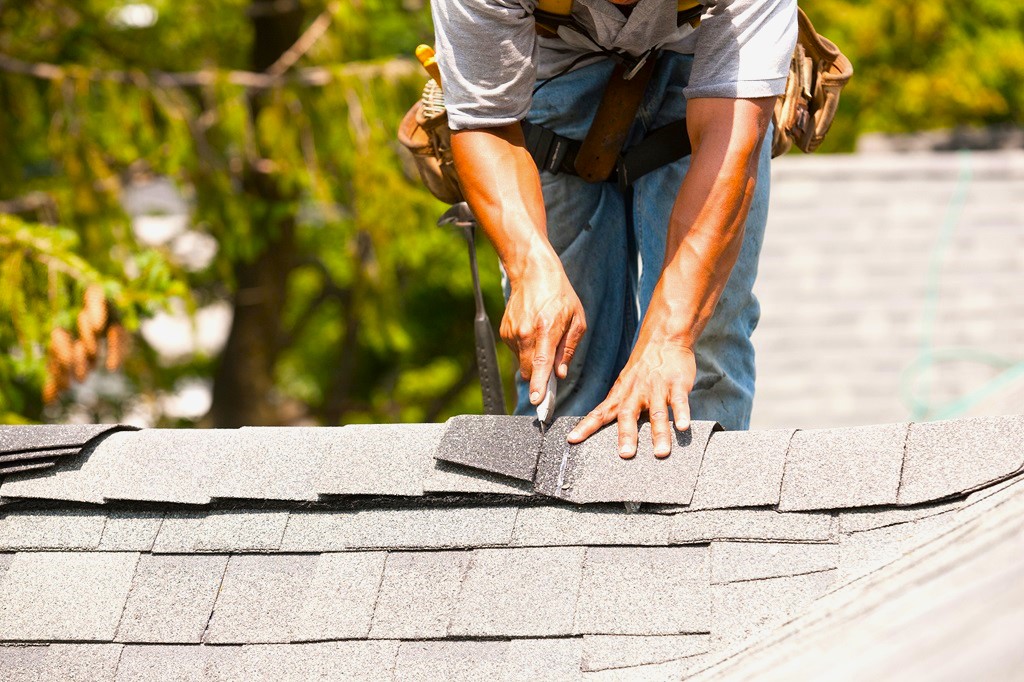
- Break the seal: The adhesive strip on shingles gets tougher over time. Use your pry bar to gently lift the shingles above the damaged ones to break their seal. Avoid damaging these upper shingles.
- Remove old nails: Carefully work the pry bar under the damaged shingle, finding the nails. Don’t yank, as this can damage the surrounding shingles. Gently pry them loose.
- Remove damaged shingles: Once the nails are free, the shingle should slide out easily.
- Prepare a new shingle: If necessary, cut the new shingle to size using your utility knife.
- Install new shingle: Slide it into place, ensuring it overlaps the shingle below, and lines up with its neighbors.
- Secure with nails: Drive roofing nails through the designated nail strip at the top of the shingle. Typically, you’ll use four nails.
- Reseal: Lift the edges of the overlapping shingles and apply a dab of roofing cement underneath. Firmly press them back into place.
Related: The Annual Roof Checkup: Essential Tips to Extend Your Roof’s Life
Special Considerations
- Ridge caps: These require special attention as they are a common source of leaks. Inspect them carefully and replace them if damaged.
- Flashing: Check around roof vents, chimneys, etc. If the flashing is damaged, repairs may be beyond a DIY project.
- Large areas of damage If your roof needs extensive repairs, it’s usually wisest to call in a professional roofer.
When in Doubt, Hire a Pro
Roofing work is physically demanding and carries inherent risks. If you:
- Have any safety concerns
- Lack of the necessary tools or skills
- Are dealing with complex roof damage
…it’s always better to hire a qualified roofing contractor.
Additional Tips
- Work on warm days: Shingles are most flexible in warm weather, making them easier to work with.
- Dispose of old shingles properly: Check local regulations for disposal guidelines.
- Don’t neglect regular inspections: Catching roof damage early saves you time, money, and hassle in the long run.
By following these guidelines, and putting safety at the forefront, you can effectively replace damaged roof shingles, extending the life of your home’s most important protective layer.


Average Rating