In the house, furnished with wooden furniture is warmth and comfort reign. The only pity is that over time, an expensive cupboard or shelf can crack and become covered with cobwebs. Wax for furniture will breathe new life into the tree and return the furniture to its original brilliance and beauty. This professional tool can be used not only on clean but also on varnished surfaces.
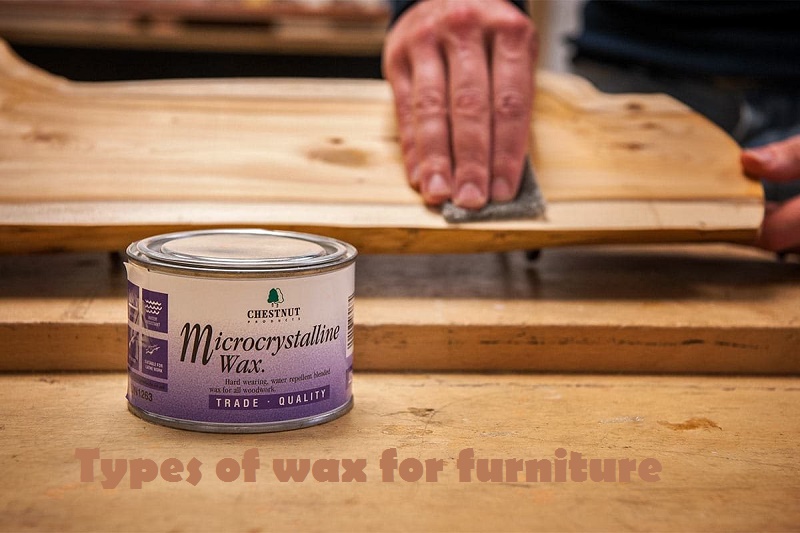
Types of wax for furniture
As a part of furniture wax – natural substances:
- Beeswax;
- Vegetable oil;
- Linseed oil;
- Wood tar;
- Ethers of coniferous trees.
There are three types of the mixture: solid, soft and liquid. They differ in consistency and scope.
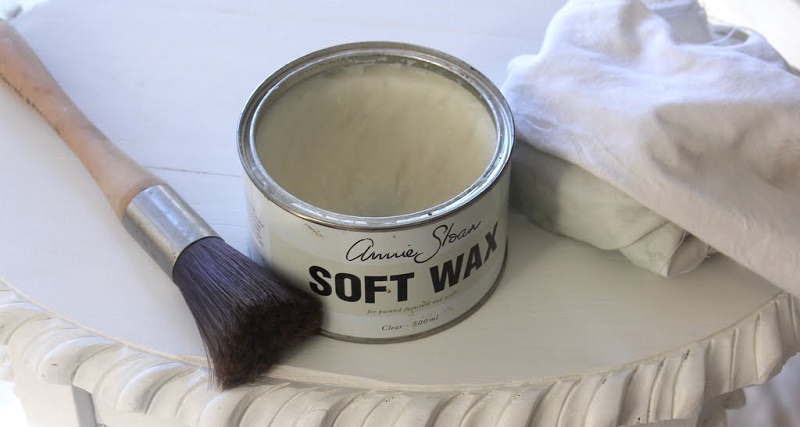
Soft. You are used to updating the appearance of wooden products. With this composition, you can seal small dents and chips, retouch cracks and scratches, give a wooden surface smoothness or change the shade. The soft mixture penetrates deep into the wood, on the surface of the product is only a small part of the tool. A rich palette will allow you to choose the desired color.
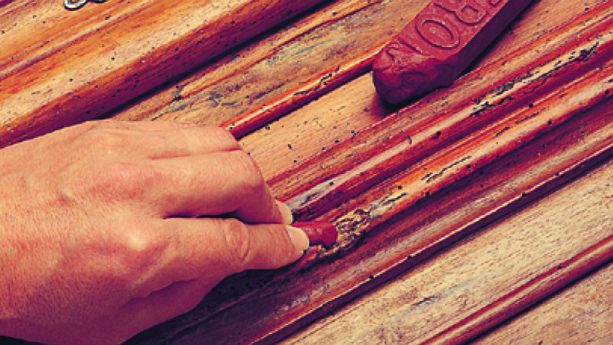
Solid. The mixture has a dense texture, which allows the use of this tool to eliminate severe damage. A solid composition can fill up deep cracks in the interior doors, restore the edge of the tabletop or broken corner of the chair. Unlike the previous type of finishing material, hard wax is very resistant to mechanical stress.
Liquid. Through the use of special synthetic additives, means acquires a liquid consistency. On a wooden surface, it is applied using a paint brush. The liquid substance penetrates the smallest cracks and dries quickly. Two hours after processing, the updated furniture is ready for further use.
Soft and liquid wax is sold ready to use. The solid mixture before starting work will need to be melted. If you need to carry out restoration work on a small surface, you can buy a special wax pencil. For processing large areas, it is better to purchase bulk packaging.
Pros and cons of wax for furniture
Compared with varnish or paint, which is also commonly used for the restoration of wooden products, professional wax for furniture has a significant advantage. Here are the main advantages of this tool:
- Excellent water repellency;
- The absence of harmful substances in the composition;
- Nice smell;
- The ability to eliminate deep cracks and chips;
- Gives the furniture a silky shine;
- Absorbs quickly and dries out;
- Preserves the relief of wood.
If we talk about the disadvantages, then it is necessary to note the low protective properties for wood compared to varnish. In addition, using wax can not retouch sun-burnt areas of wood or moisture stains.
How to use wax in the restoration of furniture?
Begin work with the preparation of the surface, which decided to update. For the wax to penetrate the inner layers of the wood, it is necessary to remove the varnish or paint coating, if any. To do this, the furniture is treated with solvent and then cleaned with emery paper.
Grease stains or other contaminants should be cleaned thoroughly before waxing. If desired, using sandpaper or grinding machine, you can whiten the entire wooden surface entirely.
If the furniture is made of pure wood, without coating, it is enough to free it from dust and small debris with a vacuum cleaner and a soft cloth napkin – and you can proceed to process.
To eliminate serious defects, it is advisable to use a solid wax. This tool has a very thick viscous consistency, so before you start working it must be melted.
To update the furniture with a solid mixture, do the following:
Using a soldering iron, gas burner or a conventional lighter, melt a portion of the wax stick and apply it to the work surface. It is necessary to act as quickly as possible, as the tool seizes in a few seconds.
- Excess material is removed with a blunt knife or spatula.
- The waxed place is polished with a piece of coarse cloth.
- To give the furniture a natural shine, it is necessary to apply the wax again, as soon as the first layer is completely dry.
Without some experience, coping with the imposition of a solid compound is not easy. Therefore, it is better to experiment first on the old stool or another unnecessary thing, and only then proceed to the restoration of the central situation.
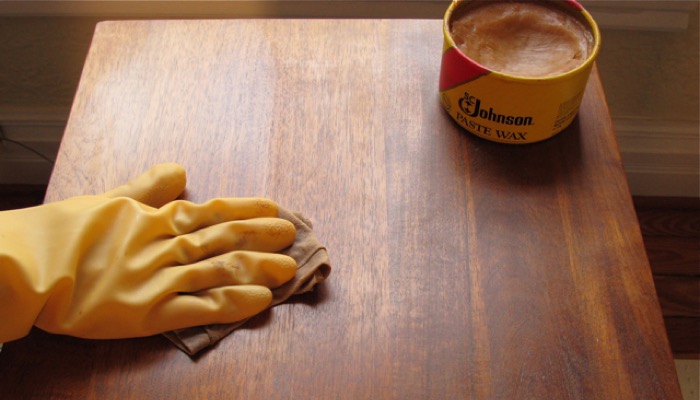
It is much easier to handle soft wax for furniture. This tool is sold in finished form, it does not have to be melted, and the soft mixture hardens within an hour. So if something did not work out the first time, there is always time to correct minor flaws.
With soft wax work as follows:
- Open a jar with the purchased product, and a rubber spatula put it on the place that needs repair.
- Carefully spread the composition on the surface, trying to fill the grooves and crevices in the wood completely.
- Excess material is removed with a knife or spatula.
- Leave the restored product for 20-25 minutes, allowing the finishing mixture to dry thoroughly.
- They polish the surface with a thick felt or cotton fabric.
If after the first treatment to achieve the desired result did not work, you can repeat the process, putting a little more of the mixture and increasing the drying time to one hour.
Professional furniture wax will allow you to update old furniture and decorate a new one, to eliminate cracks, chips, and dents, to increase the moisture-proof properties of wooden products. Ease of use, a variety of colors, affordable price make this tool popular and indispensable for home craftsmen.


Average Rating